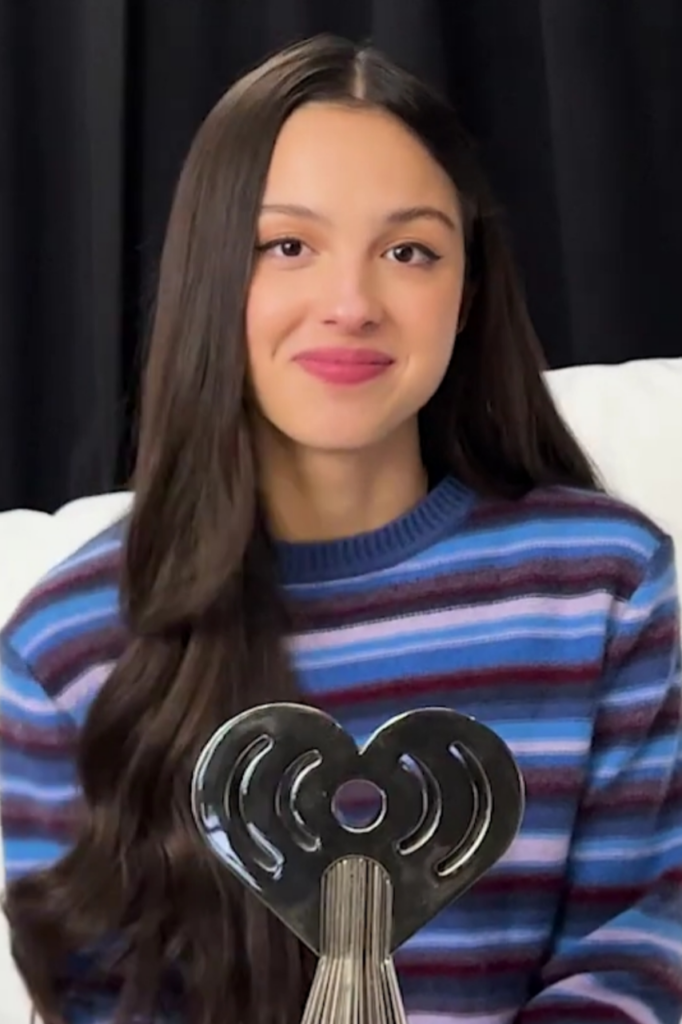

You’ve watched the concert highlight reels. You’ve screenshotted the close-ups. And you still can’t figure out exactly what’s happening with that liner. That’s the thing about Olivia Rodrigo’s tour makeup: it looks deceptively simple on camera and then you try it and realize there are three separate techniques stacked on top of each other that no tutorial is actually explaining. You’re reacting to the aesthetic, not leading it.
The GUTS World Tour (2024 to 2025) gave us 102 shows of a specific, fully-realized look. Dark. Theatrical. Deliberately imperfect in places. With the Unraveled Tour kicking off September 2026, that Rodrigo glam is only going to keep generating the same question: how is that actually done?
This is the technique breakdown. Not the vibe. The actual mechanics.
The Rodrigo Tour Aesthetic: What Makes It Work
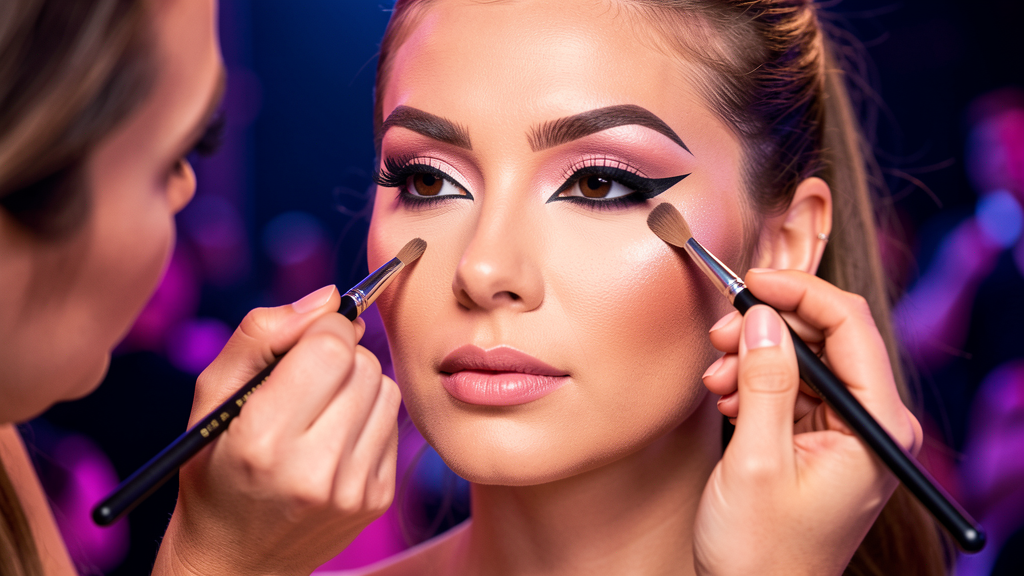
It’s not Y2K. Not clean girl. It’s theatrical alt-pop with a precision edge: saturated lips, smudgy liner that has structure underneath the smudge, and skin that reads dewy without going shiny under stage lights.
The core editorial rule is contrast. High-impact eyes or high-impact lip, rarely both at full intensity at once. That’s what keeps it from reading as costume.
Her glam team has spoken about working around stage lighting, which eats matte finishes and flattens the face. The solution is strategic luminosity placement, not all-over glow (which photographs as greasy at distance).
What makeup does Olivia Rodrigo wear on tour?
Consistently: a deep cherry or berry lip (MAC Sin or equivalent red-toned shade), precision liquid liner on the upper lash line with a deliberate downward smudge at the outer corners, luminous blurred-coverage base, and full but natural brows. Skin prep (hydration before anything goes on) is critical because stage heat moves product, and this look depends on staying power.
The 3 Techniques Her MUA Uses
This is what tutorials skip.
Technique 1: Layered liner. Apply precision line with a felt-tip liner first. Then use a separate smudge brush to drag the outer third of the line downward. Two separate steps. Not one pass. Most people try to do both simultaneously and get neither.
Technique 2: Strategic luminosity. Luminous finish goes only on cheekbone tops, nose bridge center, and the cupid’s bow. Temples, sides of nose, and jaw get set with powder. That’s how the skin reads dewy without sliding off your face mid-show.
Technique 3: Lip stain base. Deep lip color doesn’t survive 90 minutes of performing alone. You apply a stain or liner as a base layer first, then the lipstick on top. When the lipstick wears off, the stain holds the shape. Almost zero tutorials mention this step.
Who is Olivia Rodrigo’s makeup artist?
Rodrigo has worked with multiple glam artists across tours and press events. The GUTS World Tour team has discussed durability as the primary technical challenge (102 shows under arena heat). The Unraveled Tour MUA has not been publicly confirmed as of May 2026. The three techniques above are documented from GUTS-era team interviews and reflect the established approach.
How to Recreate It at Home (The Right Order)
- Moisturize, wait 5 minutes, then lightweight primer on T-zone only if needed
- Light-medium coverage foundation with fingers or damp sponge; set outer zones with powder, leave center unset
- Fill brow gaps with a pencil one tone cooler than your hair; brush through; stop there
- Felt-tip liner across upper lash line (thin, precise)
- Smudge brush to drag outer third of liner down and back toward outer corner
- Fill lips completely with liner or stain; let dry 30 seconds
- Lipstick on top of the stain
- Highlighter on cheekbone tops, nose bridge center, cupid’s bow only
How do I get the Olivia Rodrigo tour makeup look on a budget?
The liner technique works just as well with a $7 NYX Epic Ink Liner as anything from a high-end counter. What matters is felt-tip precision, not price. For the lip stain base, NYX Lip Lingerie or Maybelline Color Sensational Lip Liner both work. The only place to spend slightly more is the luminosity step: a flat drugstore shimmer will look patchy. Physicians Formula Butter Highlighter or e.l.f. Halo Glow are affordable and have the finer-particle texture you need.
Common Mistakes Tutorials Skip
- Liner and smudge in one pass. They’re two separate steps with two different tools. Do them in sequence.
- Skipping the lip stain base. Deep lip color without a stain underneath will migrate and transfer within an hour.
- All-over glow. Limit luminosity to 3 points. Any more and it reads greasy in photos.
- Full-coverage foundation. The look needs blurred coverage, not perfect coverage. Heavy base makes the liner look theatrical in the wrong way.
- Overdoing the brows. The brows stay realistic while the liner carries all the drama. Push both and it’s too much.
- Skipping skin prep. This is the invisible step. Hydrated, primed skin is what holds everything else in place.
Get the Look: Price Architecture
The council is split. Strugatz says lead with aspiration: give people the professional-grade products first. Koul’s gate says aspiration without affordable alternatives manufactures inadequacy. Both are right, so here’s all three tiers.
Liner: Charlotte Tilbury Feline Flick ($30) / NYX Epic Ink ($7) / e.l.f. H20 Proof Liner ($5).
Lip Color: MAC Sin or Ruby Woo ($23) / NYX Matte Lipstick in Siren ($9) / Maybelline Color Sensational in Wine All Day ($9).
Luminous Base: Charlotte Tilbury Flawless Filter ($49) / e.l.f. Halo Glow Liquid Filter ($14) / NYX Bare With Me Luminous Foundation ($13).
Disclosure: This article contains affiliate links. We may earn a commission if you purchase via these links, at no cost to you. Products are selected for technique relevance, not sponsorship.
Shade equity note: MAC, NYX, and Charlotte Tilbury offer wide shade ranges, but documented shade-equity testing across deeper skin tones is not consistently published for every product listed. If your shade isn’t represented, MAC Face and Body covers deeper tones reliably, and Black Up Cosmetics specializes in lip shades for deeper skin.
For more celebrity look breakdowns, see our celebrity style hub and the get the look guides.
The Bottom Line
Three techniques. Right order. Right tools. Precision liner, then smudge. Lip stain base, then lipstick. Luminosity on three points only. The rest of the look is deliberately dialed back to let those three carry the weight.
The Unraveled Tour starts September 2026. Get the technique down now and you’ll actually be leading the conversation when the photos drop.
Want tour-glam breakdowns before they hit social? Subscribe to the CelebrityGossiper newsletter. Technique guides and get-the-look content straight to your inbox.
Poll: Which part of the Rodrigo tour look is hardest to nail at home?
- The layered liner smudge (two-step technique)
- Getting the deep lip color to actually last
Why did you vote that way? Drop your take in the comments.